> For the complete documentation index, see [llms.txt](https://docs.peakcommerce.com/llms.txt). Markdown versions of documentation pages are available by appending `.md` to page URLs; this page is available as [Markdown](https://docs.peakcommerce.com/product/using-peakcommerce/users-and-user-roles/creating-a-new-user.md).
# Creating a New User
Every person who signs in to your PeakCommerce tenant — administrators, customer-service reps, partners, and end customers — needs a user record. Creating one provisions their sign-in and decides, from the first login, exactly what they can see and do. Getting the role and profile right up front saves you from over- or under-granting access later.
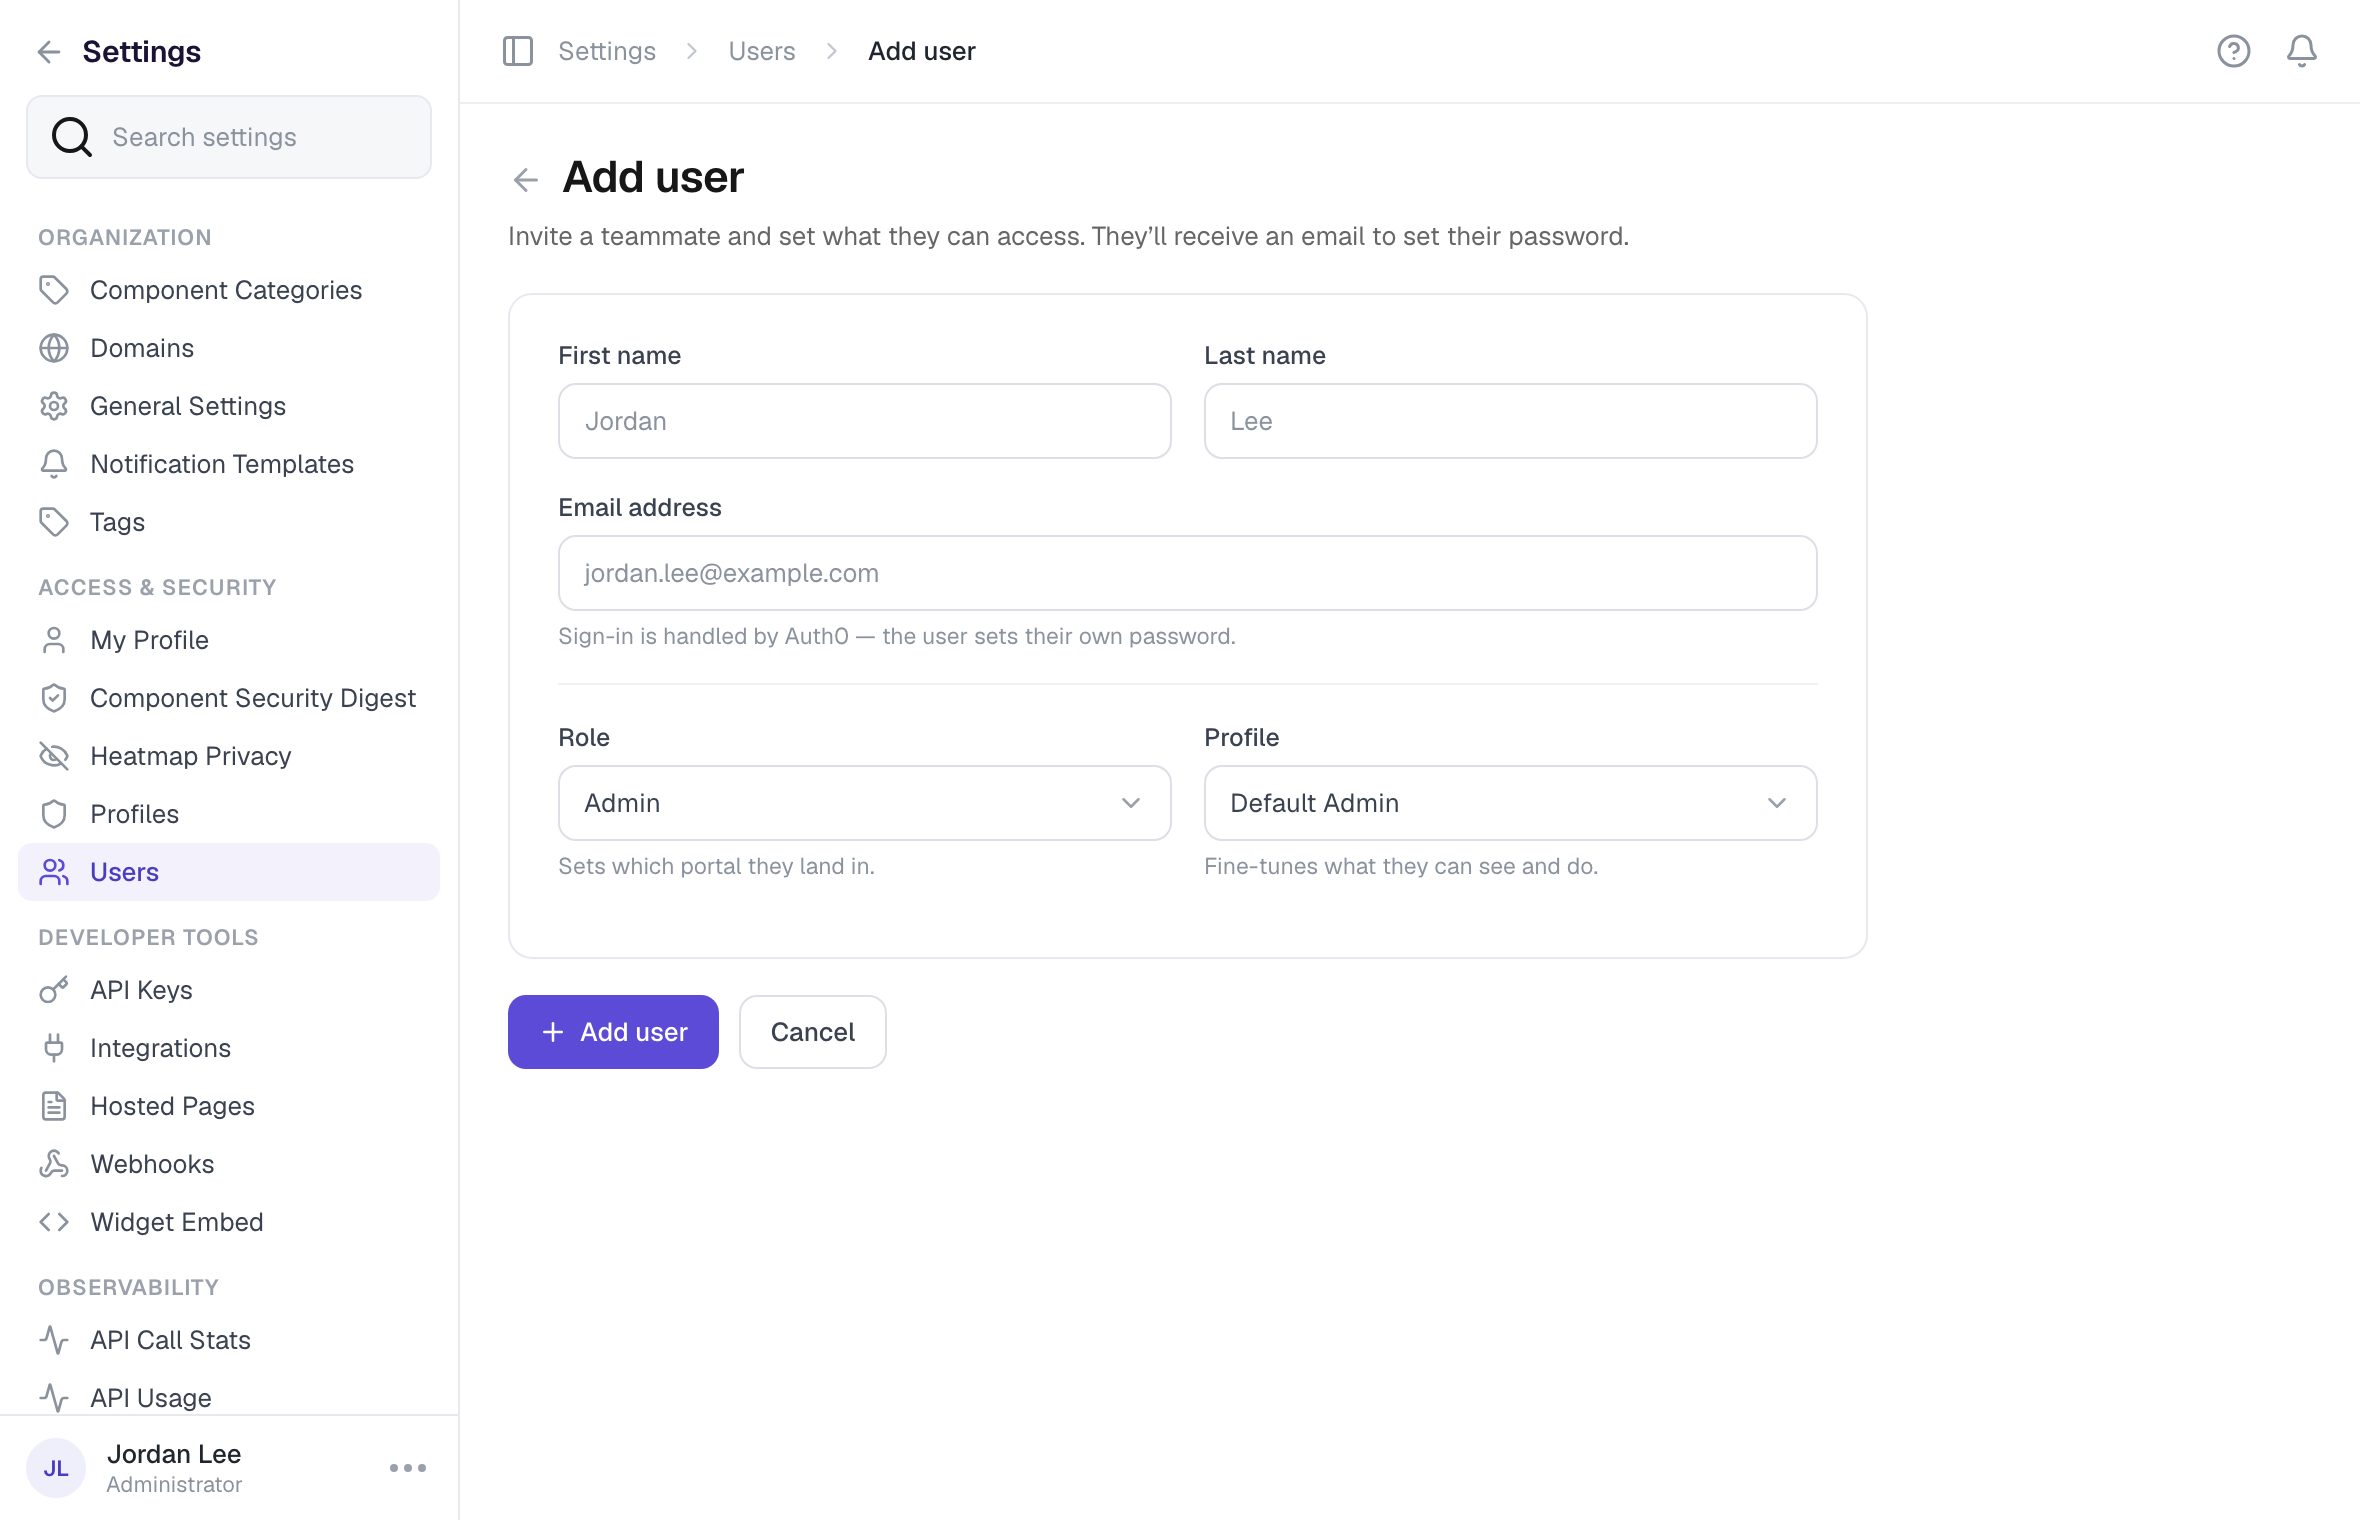
The Add User form (Settings → Users) — set the person's details, then their role and profile.
## Add a user
1. Open the **user menu** (your name, bottom-left) → **Settings → Users**, then click **Add User**.
2. Enter the user's **Email**. This is both their identity and their sign-in name, so make sure it's correct — it's how the platform (and Auth0) recognizes them.
3. Choose a **Role** — **Admin**, **CSR**, **Partner**, or **Customer**. The role sets the broad kind of access; see [User Roles](/product/using-peakcommerce/users-and-user-roles/user-roles.md).
4. Choose a **Profile**. The list is filtered to active profiles for the role you picked, so you only ever see relevant options. The profile carries the detailed permissions — what this user can actually open and change (see [User Profile Overview](/product/using-peakcommerce/profiles-and-permissions/user-profile-overview.md)).
5. For a **Customer** or **Partner**, enter the **External Account ID** that links the user to their billing/identity account (and an External Contact ID if applicable). This connects the person to the right account data in your billing system.
6. Click **Create**.
## How it works
PeakCommerce tenants use **Auth0** for sign-in, so you don't set a password. The new user receives an email to establish their own credentials and verify their address. They appear in the [users list](/product/using-peakcommerce/users-and-user-roles/viewing-your-users-list.md) immediately and can sign in as soon as they've set their password. See [Authentication & Security](/product/using-peakcommerce/authentication-and-security.md) for password policy and SSO.
## Gotchas
* There's no separate "name" field — a user's display name comes from their Auth0 profile after they sign in.
* Pick the Role first; the Profile dropdown only populates with profiles built for that role.
* Adding many users at once? Use the Agent API (`/api/v1`) — there's no spreadsheet import in the admin UI.
---
# Agent Instructions
This documentation is published with GitBook. GitBook is the documentation platform designed so that both humans and AI agents can read, navigate, and reason over technical content effectively. Learn more at gitbook.com.
## Querying This Documentation
If you need additional information that is not directly available in this page, you can query the documentation dynamically by asking a question.
Perform an HTTP GET request on the current page URL with the `ask` query parameter, and the optional `goal` query parameter:
```
GET https://docs.peakcommerce.com/product/using-peakcommerce/users-and-user-roles/creating-a-new-user.md?ask=&goal=
```
`ask` is the immediate question: it should be specific, self-contained, and written in natural language.
`goal` is optional and describes the broader end goal you are ultimately trying to accomplish on behalf of the user. GitBook uses it to tailor the answer towards what is most useful for that goal.
The response will contain a direct answer to the question and relevant excerpts and sources from the documentation.
Use this mechanism when the answer is not explicitly present in the current page, you need clarification or additional context, or you want to retrieve related documentation sections.